
Your cart is currently empty!
Courses
To add a course, go to Courses > Add New. ( You will see that some blocks have already been added to the page for you.Note: If you use Divi, you will need to go to Divi > Theme Options > Builder and disable Courses in order to see the blocks.)
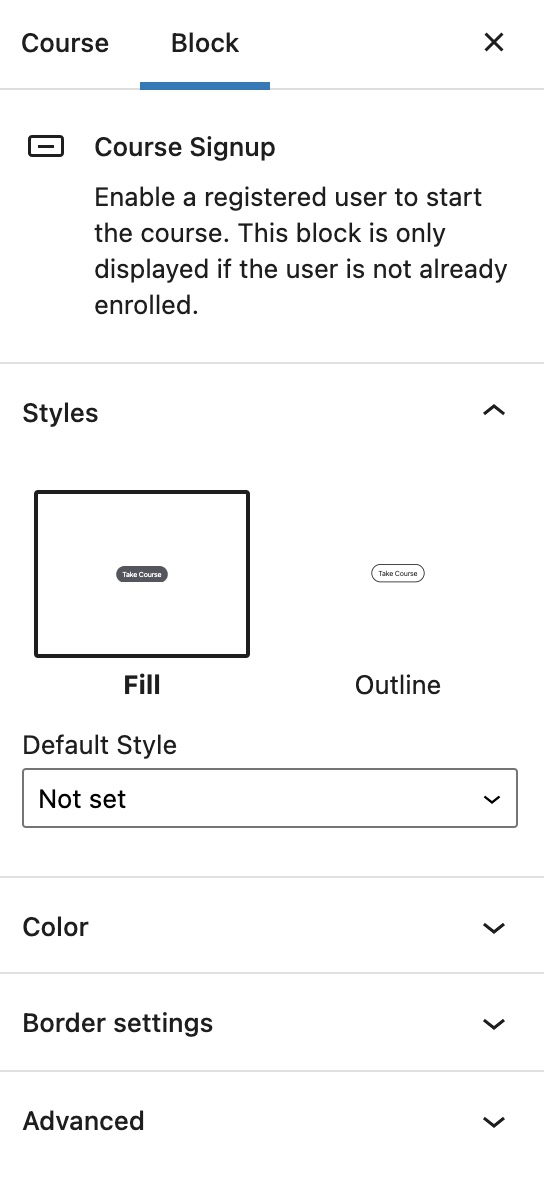
Course Signup
The Course Signup block displays a Take CourseBecause this is such a critical piece of functionality, we recommend that you leave this block on the page.
The block can be customized by changing its style, colors or border:
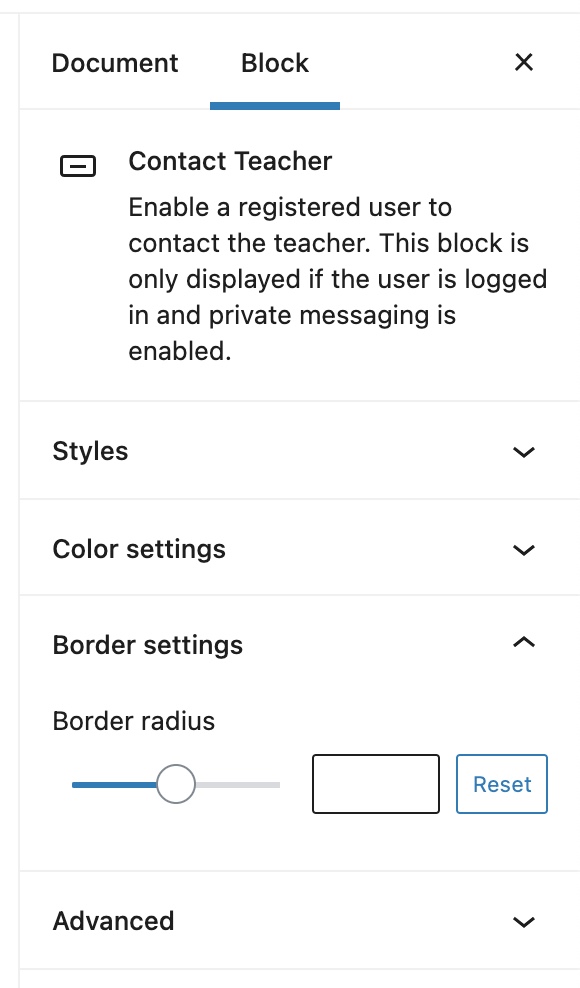
Connect Teacher
The Contact Teacher block enables registered users to reach out the teacher. The end-user is not required to be enrolled in the course in order to send a message to the teacher. This provides an opportunity for them to discover more about the course before deciding whether or not to enrol. The private messaging function, however, needs to be enabled in order for the button to display.
Similar to Course Signup, the Contact Teacher block can have its style, colors and border customized:
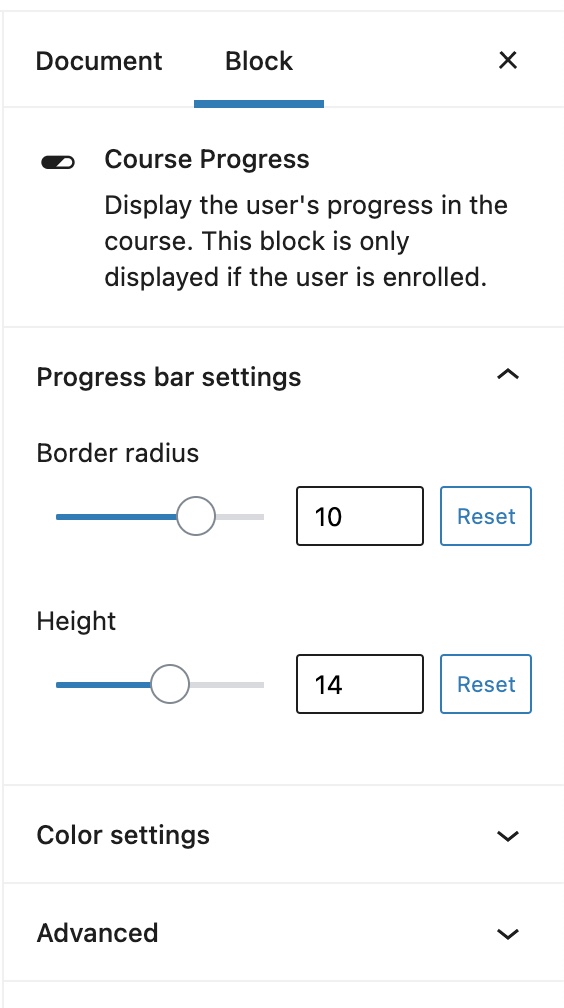
Course Progress
Course Progress displays the learner’s progress in the course. This block is only visible to people who are already enrolled. The course progress block enables you to customize the border radius, progress bar height and colors:
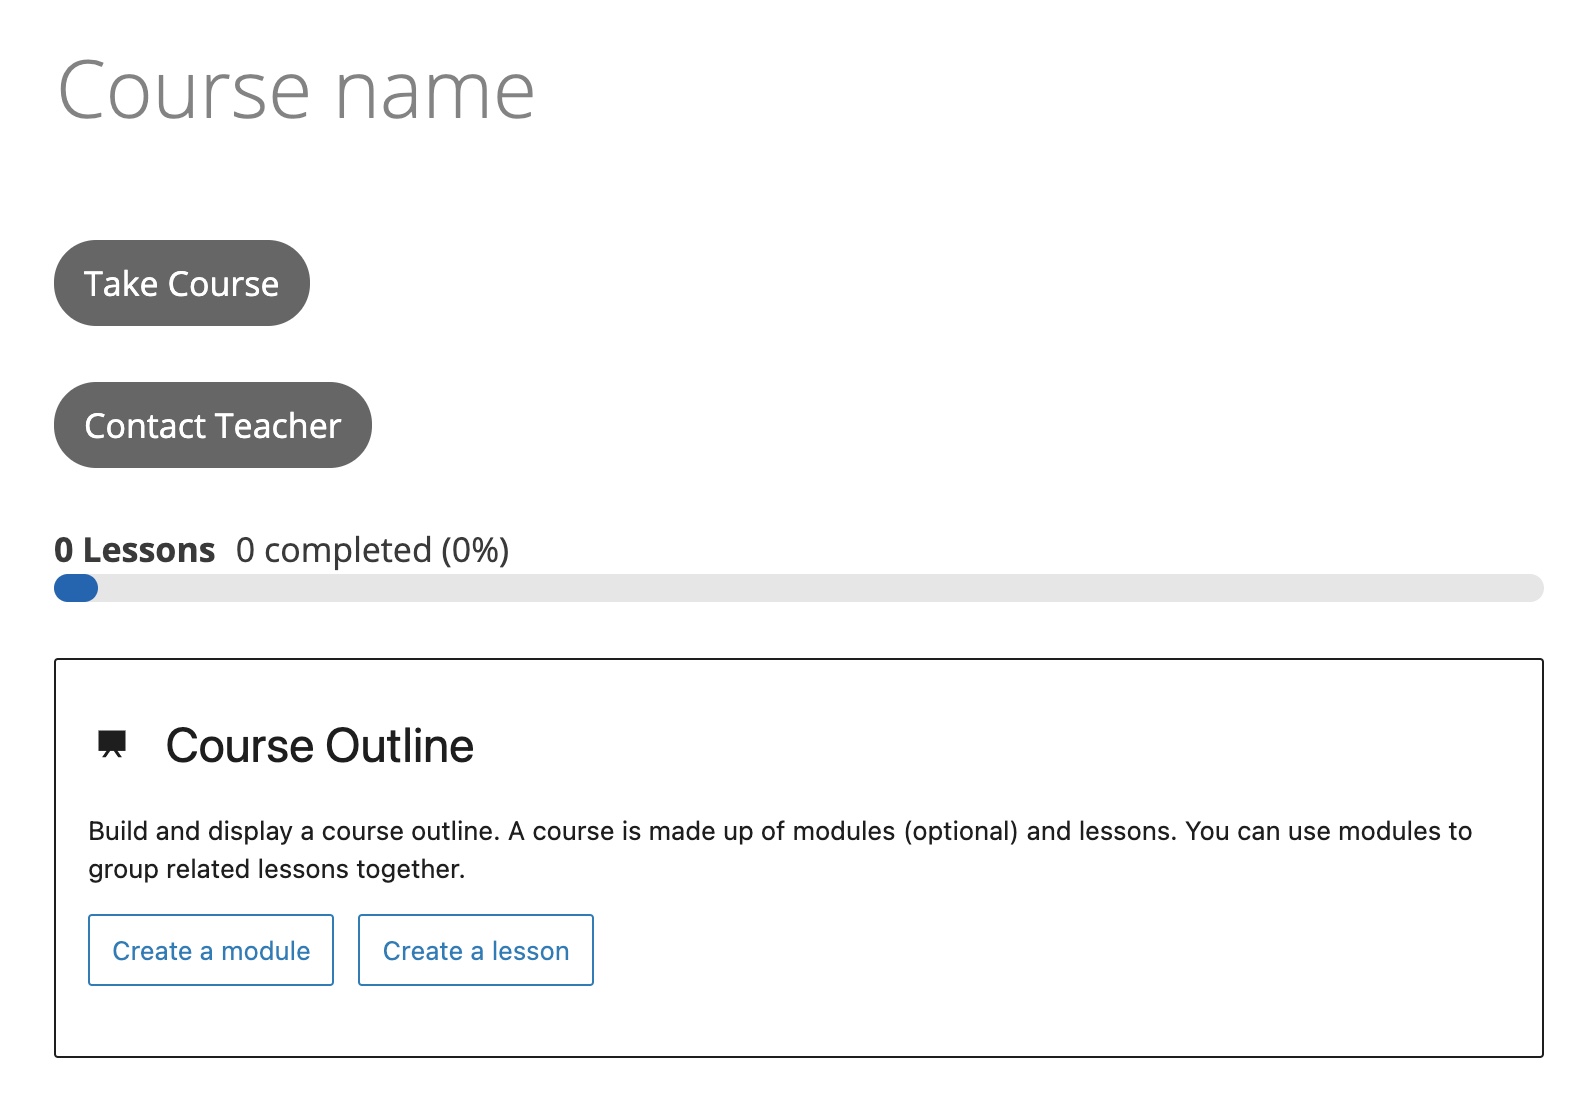
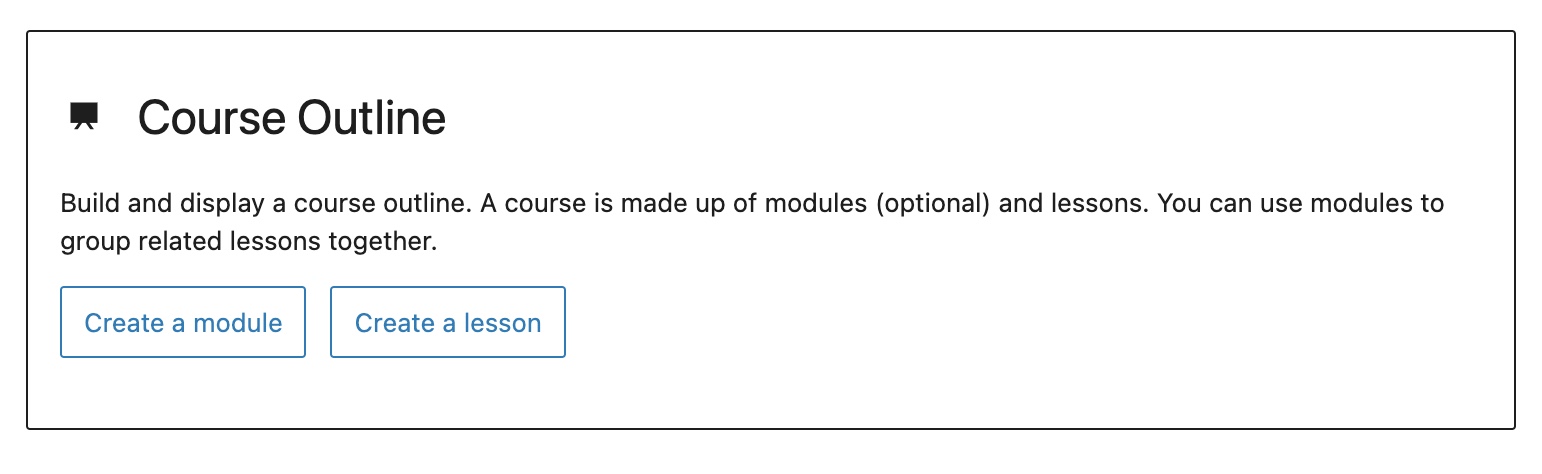
Course Outline
In addition to displaying the modules and lessons that make up a course, the course outline block enables you to build your course structure right inside the editor.
The first step is to decide whether you would like to generate a module, which is a collection of lessons, or a single lesson:
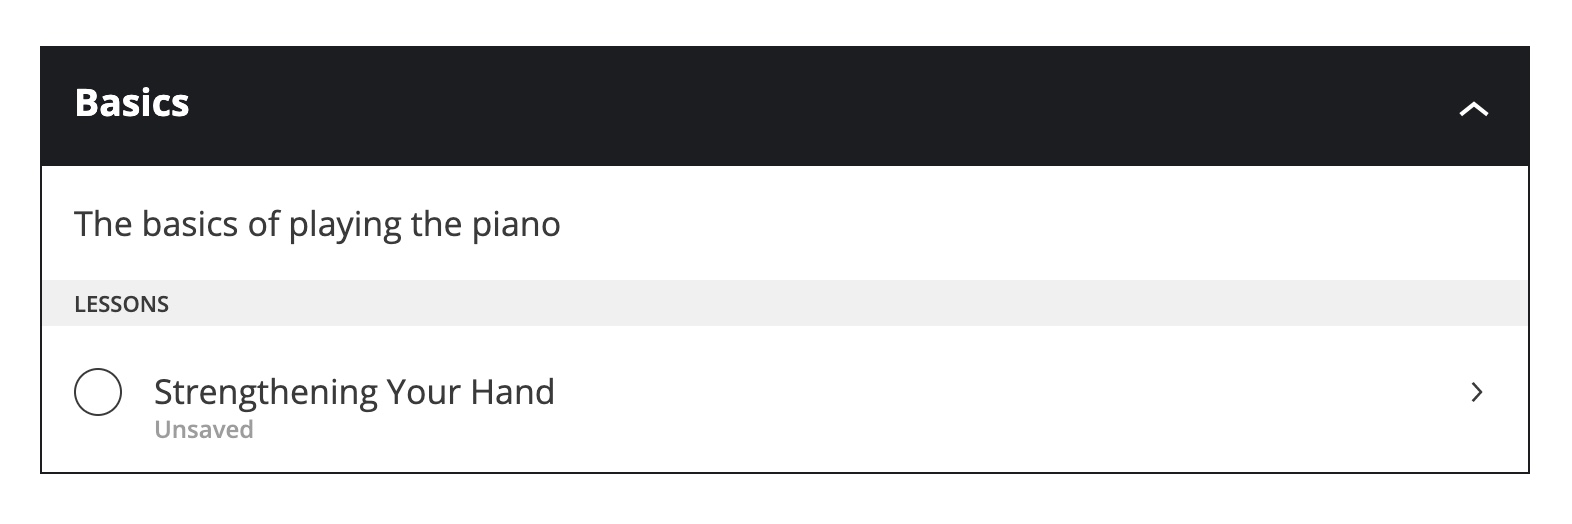
After clicking on Create a module, the block changes to enable you to specify the name and description of the module, as well as the name of the lesson:
Additional modules and lessons can be added by selecting the Course Outline block, and then clicking the + icon:
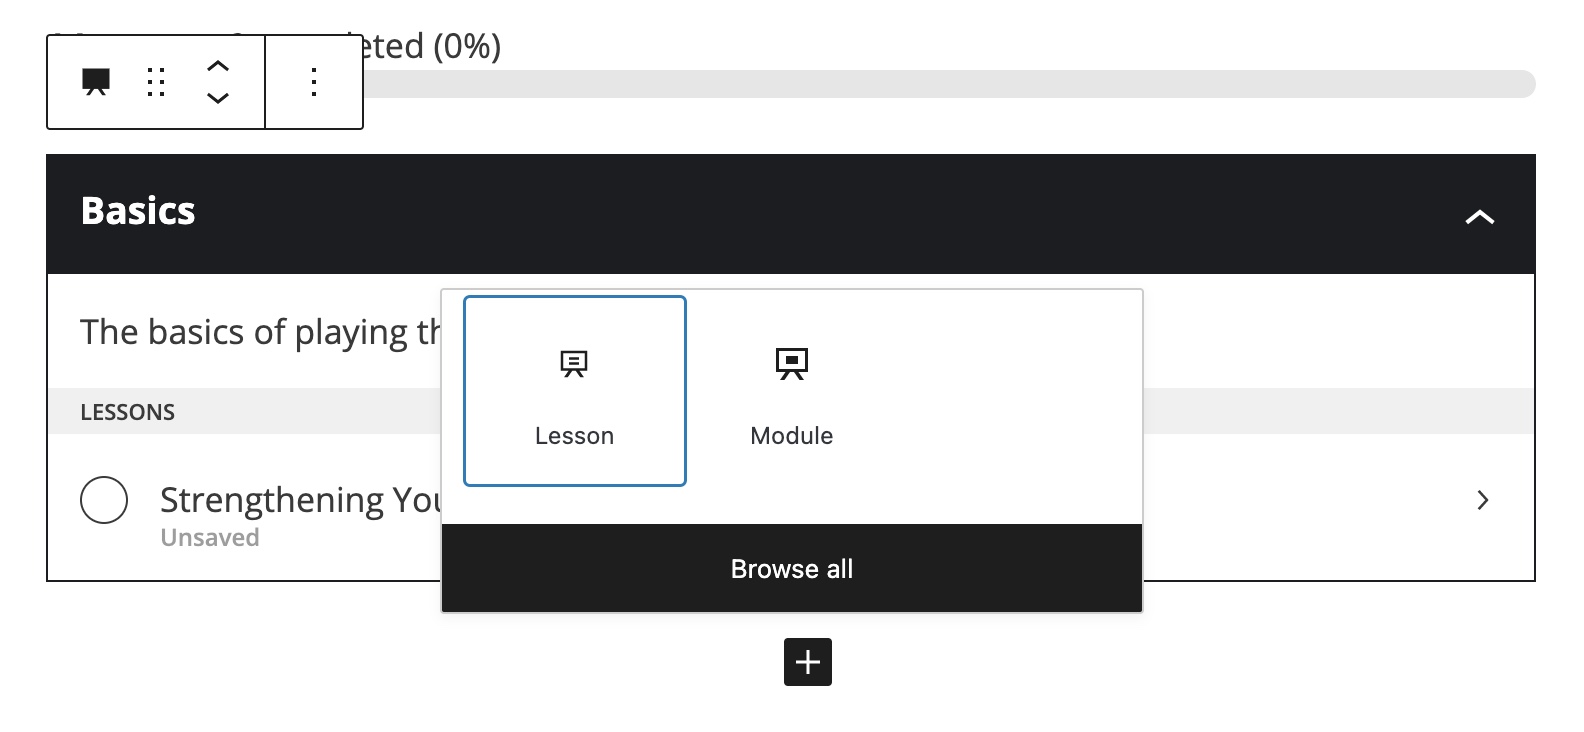
The parent Course Outline block, module, and lesson each have their own settings:

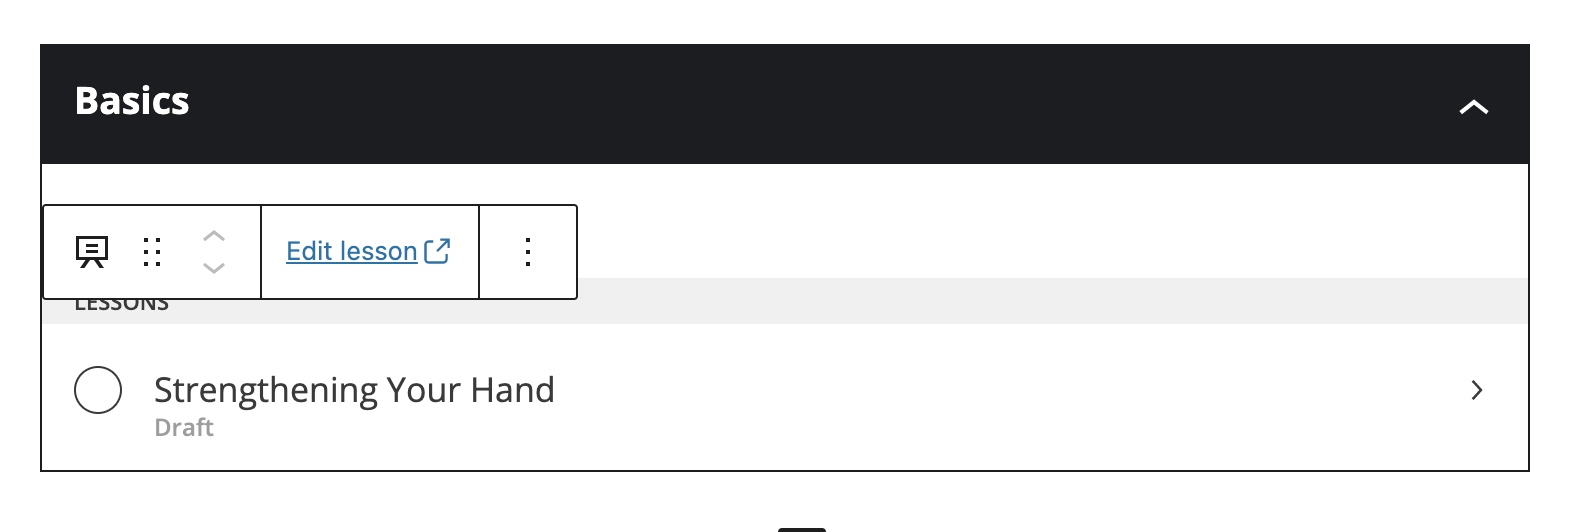
It’s significant to note that lessons must be published before they will be displayed on your site. You can publish a lesson from the course outline block by saving the course, selecting a lesson, and then clicking the Edit lesson link in the toolbar or sidebar. This will launch the lesson in a recent tab, and you can publish it from there:
You can add additional material and blocks such as images and videos to the editor, just as you would for any other type of post.
Note: If no Sensei blocks exist on the course page, the course will use a legacy PHP template to provide the same functionality to your site visitors. Since PHP templates can be difficult to customize, we recommend that you use blocks instead. Learn more.
Conditional Information
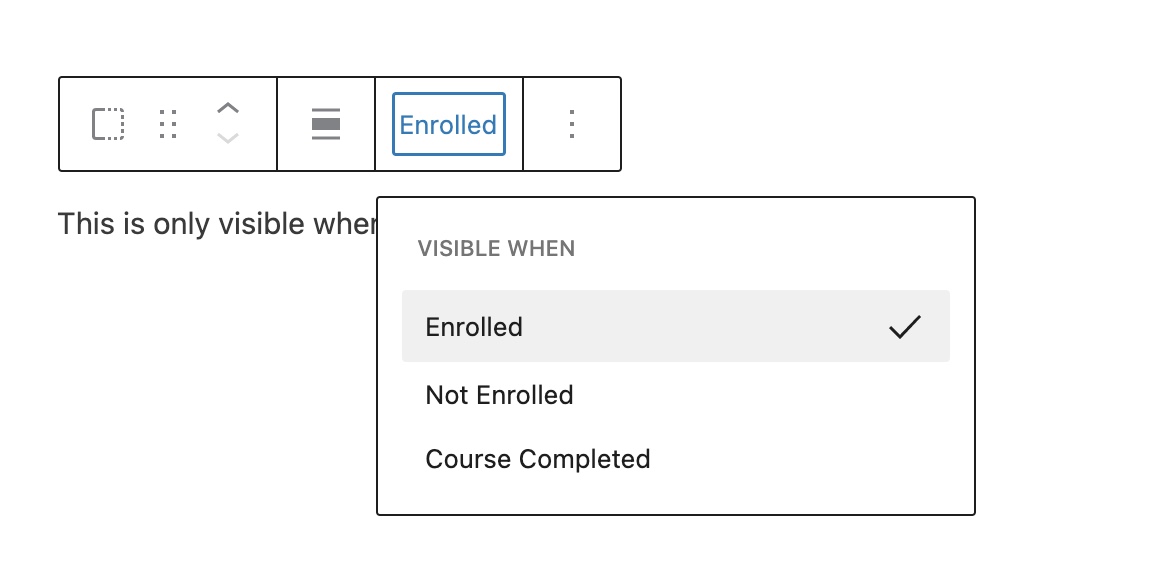
Although not added to the course page by default, the Conditional Content block is an additional Sensei block that is available to add to your courses. Any text added inside this block is only displayed if your site visitor is enrolled in the course, is not enrolled in the course, or has completed the course.
The visibility condition can be set by clicking on the block and selecting a value from the toolbar dropdown. You can add as many blocks inside Conditional Content as you like:
Document Settings
There are some additional settings in the sidebar that can be configured for the course.
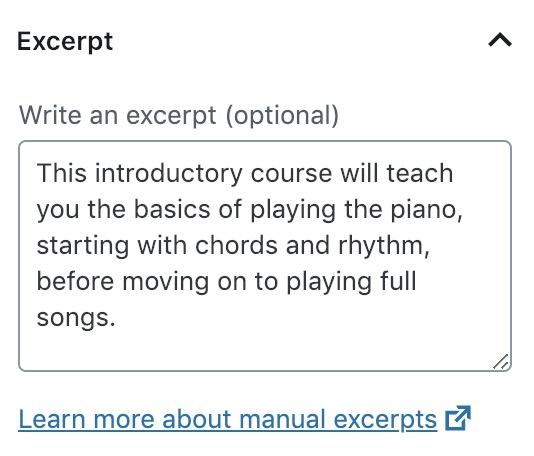
Excerpt
If you like, you can enter a brief description of the course in the Excerpt field:
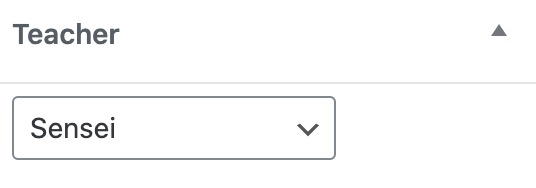
Teacher
To assign a teacher to the course, select a visitor from the Teacher dropdown:
Course Categories
A course can be assigned to one or more categories. You can select an existing category or select the Add New Course Category reference to generate a novel one:
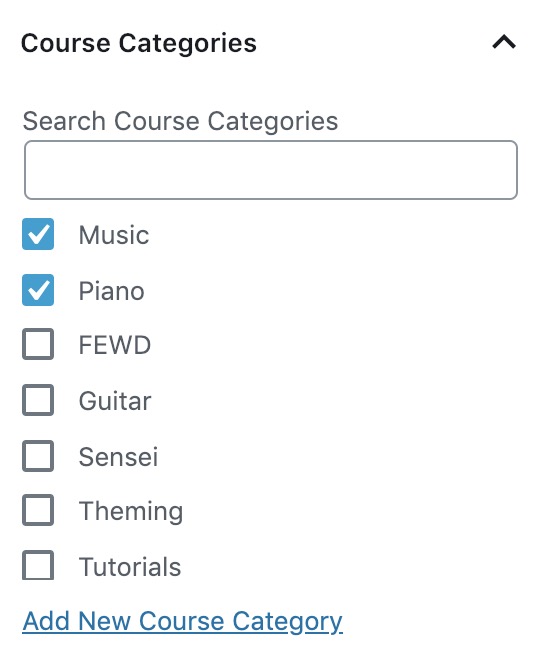
Course categories can be managed by going to Courses > Course Categories.
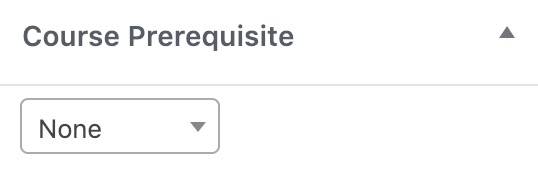
Course Prerequisite
If you would like learners to complete another course before taking this one, you can set a Course Prerequisite.
If a learner tries to present this course without having first completed the prerequisite course, they will see a notice similar to the following:

Featured Course
Feature this courseFeatured Courses on the course archive page and in the course component widget:

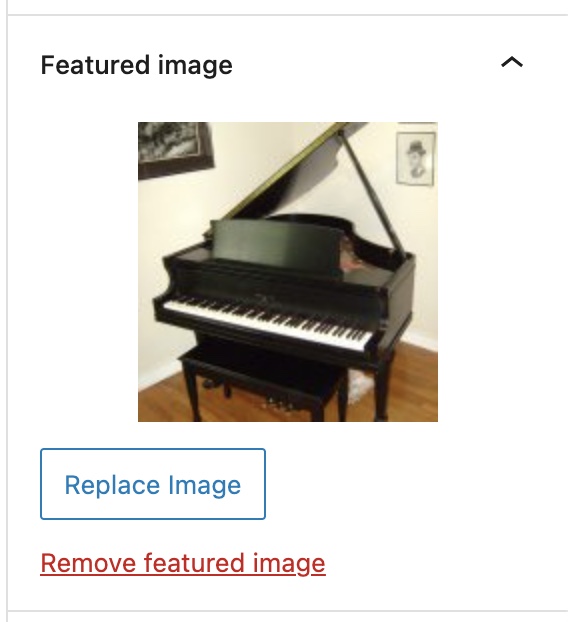
The image displays on the course archive and course pages, depending on the settings configured in A featured image can be added to a course by uploading an image from your computer or selecting an existing visual from the Media Library.Sensei LMS > Settings > Courses:
Course Notifications
There is a Course Notifications panel on the course edit screen that gives you the option to disable all email notifications for just that course. This option overrides the global email options in Sensei LMS > Settings > Email Notifications:

Order Courses
To alter the order that your courses are displayed in, go to Courses > Order Courses. Drag and drop them into the desired order, and then tap the Save course order button.
Duplicate a Course
- Go to Courses > All Courses.
- Hover over a course.
- Click the Duplicate link to duplicate just the course, or Duplicate (with lessons) to duplicate the course and all its lessons.
Edit a Course
Once your course is published and people have started taking it, we recommend against making major changes such as adding or removing lessons, editing quizzes, etc. Doing so will affect the grades and completion status of learners who are already taking (or have already completed) the course.
If you decide that your course needs a refresh with novel lessons or more quizzes, the leading fix would be to either build a novel version of the course from scratch, or duplicate the existing course and make the required updates before publishing.